
Building a home theater doesn’t require a six-figure budget or a dedicated media room the size of a garage. With the right planning and a clear understanding of the essentials, anyone can transform a spare bedroom, basement, or even a large living room into an immersive entertainment space. The key is prioritizing the fundamentals, layout, equipment, sound treatment, and lighting, while scaling choices to fit both the room and the wallet. This guide walks through the practical steps to create a DIY home theater that delivers cinema-quality experiences without the guesswork or unnecessary spending.
Key Takeaways
- A functional DIY home theater can be built for $2,000–$4,000 with smart equipment choices and room optimization, delivering cinema-quality entertainment without a six-figure budget.
- Choose a rectangular room with a 1.4:1 to 1.6:1 length-to-width ratio to avoid acoustic problems, and position the screen on the short wall to maximize viewing distance.
- Invest in a quality 5.1 surround sound system with a capable subwoofer and acoustic treatment panels, as sound quality often matters more than picture quality for immersive viewing.
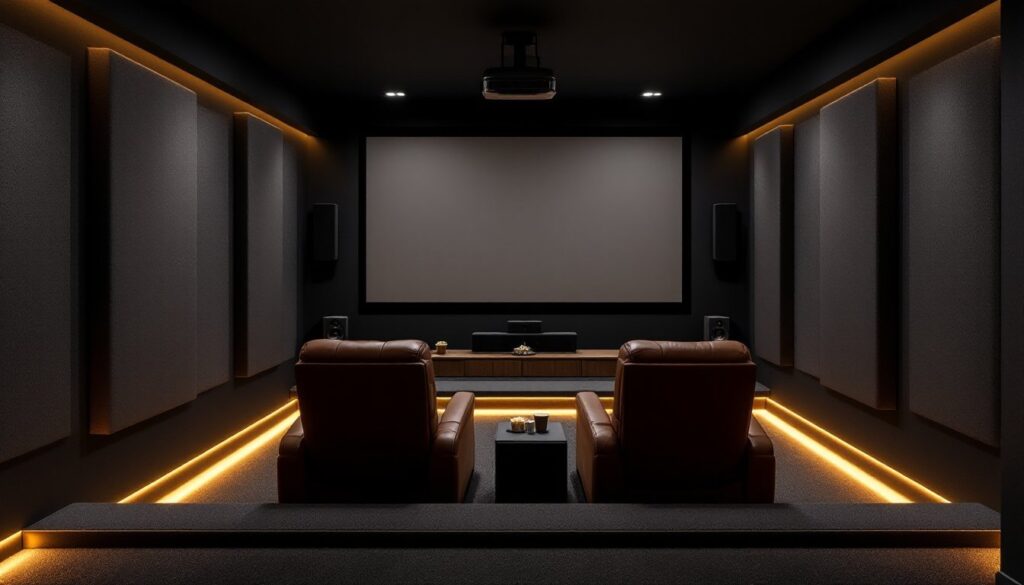
- Control ambient light through dark-colored walls, blackout treatments, and strategic LED placement to prevent contrast washout and maintain image quality during viewing.
- Phase your DIY home theater build by starting with essential components like a quality display and 3.1 speaker system, then add surrounds and upgrades as budget allows.
- Prioritize speaker quality, screen size, and effective room darkening over expensive extras like motorized screens and complex automation systems for the best value.
Planning Your Home Theater Layout and Location
The foundation of any successful home theater starts with choosing the right room and understanding its limitations. Basements work well due to natural light control and isolation from household noise, but bedrooms and bonus rooms can deliver excellent results with the right modifications.
Room dimensions matter more than most people realize. Avoid perfectly square rooms if possible, they create acoustic problems called standing waves that muddy bass frequencies. Rectangular spaces with a length-to-width ratio between 1.4:1 and 1.6:1 offer better sound distribution. A 12′ × 18′ room represents a good starting point for four to six seats.
Measure the viewing distance early. For a 1080p display, viewers should sit roughly 1.5 to 2.5 times the screen width away. 4K screens allow closer seating, about 1 to 1.5 times the width, without visible pixelation. This calculation determines both screen size and seating placement.
Consider structural factors before committing to a space. Locate floor joists if mounting overhead speakers or a projector. Check for HVAC vents that might create noise or airflow issues. If the room shares a wall with bedrooms, plan for soundproofing early, adding mass-loaded vinyl (MLV) or resilient channel to walls during construction is far easier than retrofitting later.
Sketch a basic layout showing screen position, seating rows, and equipment placement. Leave at least 3 feet of clearance behind the back row for comfortable access. Position the screen on the short wall to maximize viewing distance and improve sound staging.
Essential Equipment for Your DIY Home Theater
Equipment choices shape both the experience and the budget. Start with the display and source components, then build out from there.
Display Options: Projector vs. Large Screen TV
The display decision often comes down to room size, ambient light control, and budget flexibility.
Projectors deliver the most immersive, theater-like experience for screens 100 inches and larger. A quality 1080p projector starts around $500, while native 4K models begin near $1,200. Factor in a projection screen, fixed-frame screens ($150–$600) offer the best image quality, while motorized retractable screens ($400–$1,500) work well in multi-purpose rooms. Projectors require a dark environment to shine: even small amounts of ambient light wash out contrast. They also need ceiling or rear-shelf mounting, which means running power and HDMI cables through walls or using surface-mounted conduit.
Large-screen TVs (75″–85″) handle ambient light far better and require zero installation beyond a wall mount. Modern LED and OLED panels deliver stunning color and contrast. Prices range from $1,000 for a quality 75″ LED to $2,500+ for an 85″ QLED or OLED. TVs work better in spaces where light control is difficult or where the room serves multiple purposes.
For source components, a quality AV receiver ($300–$800) acts as the system’s hub, decoding surround sound formats and switching between inputs. Pair it with a streaming device (Apple TV, Nvidia Shield, or Roku Ultra) for 4K HDR content. A UHD Blu-ray player ($200–$400) remains the gold standard for video and audio quality, though streaming suffices for most viewers.
Sound System Setup and Acoustic Treatments
Picture quality gets attention, but sound makes the difference between watching a movie and experiencing it. Even a modest 5.1 surround system (five speakers plus one subwoofer) outperforms any TV’s built-in audio.
Start with a front soundstage: left, center, and right speakers placed at ear height when seated. The center channel handles roughly 60% of a film’s dialogue, so don’t cheap out here. Bookshelf speakers ($100–$300 per pair) work well for small to mid-size rooms. Larger spaces benefit from tower speakers ($300–$800 each) with better low-frequency extension.
Place surround speakers slightly behind and above the main seating position, angled toward listeners. For a 7.1 setup, add rear surrounds directly behind the seating. Ceiling-mounted Atmos speakers or upward-firing modules create overhead effects in Dolby Atmos and DTS:X mixes, but they’re optional for budget builds.
The subwoofer reproduces low-frequency effects (explosions, rumble, bass). A quality 10″ or 12″ powered sub ($200–$600) makes a massive difference. Place it near a corner to maximize output, but experiment with positioning, sometimes moving it a few feet eliminates bass nulls.
Acoustic treatment transforms good sound into great sound. Hard surfaces (drywall, hardwood, glass) reflect sound waves, creating echoes and muddiness. Add acoustic panels (2″–4″ thick) to the front wall behind the screen and first reflection points on side walls. Bass traps in room corners tame low-frequency buildup. DIY panels made from rigid fiberglass insulation wrapped in fabric run $15–$30 each. Even four to six panels noticeably improve clarity.
Avoid confusing acoustic treatment with soundproofing. Treatment improves sound within the room: soundproofing prevents sound from escaping. Soundproofing requires adding mass (extra drywall layers, MLV) and decoupling (resilient channel, staggered studs), a much bigger investment.
Optimizing Lighting and Ambiance Control
Controlling light is critical for image quality and immersion. Even small amounts of stray light reduce perceived contrast and wash out dark scenes.
Start with window treatments. Blackout curtains offer the cheapest solution ($30–$80 per window), but they’re not truly light-blocking. Cellular blackout shades ($80–$200) perform better. For basements or dedicated theaters, consider blackout film applied directly to windows or build removable panels covered in black fabric.
Wall and ceiling color matters more than most DIYers realize. Light-colored walls reflect screen light back toward viewers, creating a washed-out image. Paint walls a dark gray or matte black. Flat or matte finishes prevent reflections, skip satin or semi-gloss. The ceiling should also go dark. A gallon of quality paint ($30–$50) covers roughly 350–400 square feet.
Ambient lighting provides safety and convenience without ruining the experience. Install LED rope lights or LED strip lights ($15–$40 per 15 feet) along baseboards or under risers for step lighting. Choose warm white or red LEDs, they preserve night vision better than blue or cool white. Wire them to a dimmer switch ($15–$30) for full control.
For overhead lighting, install recessed can lights with dimmers ($25–$50 per fixture) positioned behind the seating area, not between viewers and the screen. Smart bulbs ($10–$15 each) allow color and brightness control via phone apps, and they integrate with voice assistants for hands-free adjustments.
Avoid placing any light source in the viewer’s direct line of sight to the screen. Light bleeding into peripheral vision reduces contrast perception and breaks immersion.
Seating Arrangements and Comfort Considerations
Seating directly impacts how much time people actually spend in the theater. Uncomfortable chairs mean shorter viewing sessions, no matter how good the picture and sound.
Dedicated theater recliners ($300–$1,200 per seat) offer the best comfort, with features like power recline, cup holders, and USB charging. But, they’re pricey and take up significant floor space, each seat needs roughly 3 to 4 feet of width.
For tighter budgets, quality sectional sofas or even bean bag chairs work fine. Prioritize seats with good lumbar support for long viewing sessions. Measure carefully, oversized furniture in a small room creates cramped aisles.
If building tiered seating (rows at different heights), each row should sit 8 to 12 inches higher than the one in front. Build simple risers using 2×10 or 2×12 lumber for the frame, topped with 3/4″ plywood. Cover the frame in carpet or acoustic fabric to minimize noise from footsteps. This is straightforward carpentry but requires accurate measurements and a circular saw or miter saw for clean cuts. Secure risers to wall studs if possible to prevent shifting.
Leave 36 to 42 inches between rows for comfortable legroom and easy access. For single-row setups, position seating so viewers’ eyes align with the vertical center of the screen.
Add small side tables ($30–$80) within arm’s reach for drinks and snacks. If space allows, a back-of-room bar or concession area with a mini-fridge, microwave, and storage for snacks completes the experience.
Budget-Friendly Tips to Maximize Your Theater Experience
High-end home theaters run $20,000 or more, but smart choices deliver 80% of the experience for a fraction of the cost.
Buy refurbished or open-box equipment. Authorized retailers and manufacturers sell refurbished projectors, receivers, and speakers with full warranties at 20–40% discounts. Check the manufacturer’s website or outlets like Amazon Renewed.
Phase the build. Start with a quality 3.1 system (left, center, right speakers plus subwoofer) and add surrounds later. Begin with a TV and upgrade to a projector when the budget allows. Every component doesn’t need to arrive on day one.
DIY acoustic panels and bass traps instead of buying pre-made versions. Rigid fiberglass insulation panels (Owens Corning 703 or Roxul Safe’n’Sound), fabric, and a simple wood frame cost $15–$25 per 2’×4′ panel versus $60–$100 retail.
Shop used or scratch-and-dent furniture. Floor-model theater recliners often sell for half price. Local classifieds and estate sales turn up solid sectionals and shelving for a fraction of retail.
Use existing devices as source components. Most people already own a streaming stick, gaming console, or Blu-ray player. An AV receiver connects them all and routes audio to speakers.
Skip unnecessary tech. Motorized screens, in-wall speakers, and complex lighting automation look impressive but add little to the actual viewing experience. Focus budget on the big three: screen size, speaker quality, and room darkening.
Comparison shop and wait for sales. Black Friday, Prime Day, and end-of-model-year clearances offer deep discounts on electronics. Sign up for price alerts on sites like CamelCamelCamel.
A functional, enjoyable home theater can come together for $2,000–$4,000 depending on room size and equipment choices, far less than a year’s worth of monthly streaming bills and movie tickets for a family.